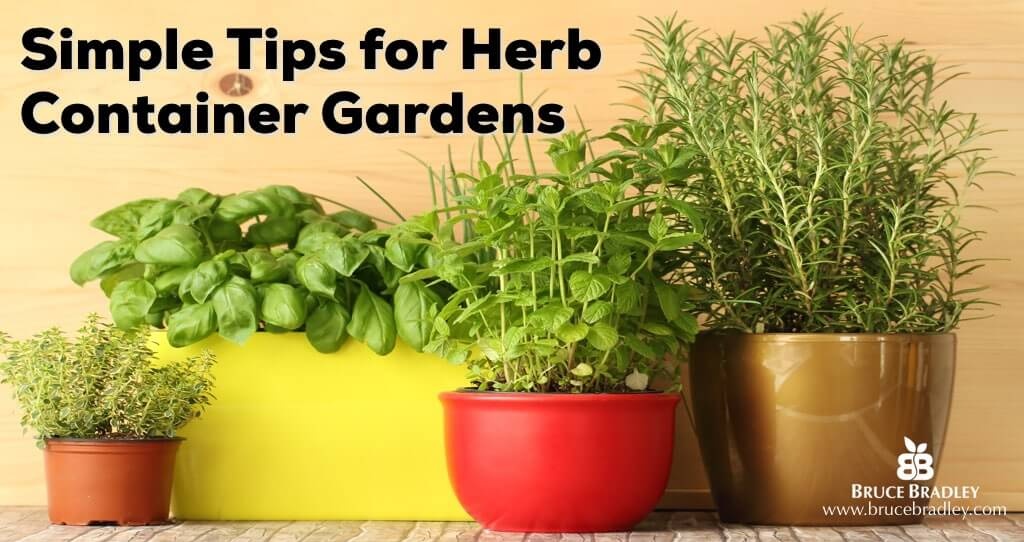
 Okay, I admit it. I’m not much of a gardener. I just don’t have a green thumb. That’s why I had a seasoned gardener share her years of experience on how to get started with a quick and easy organic garden.
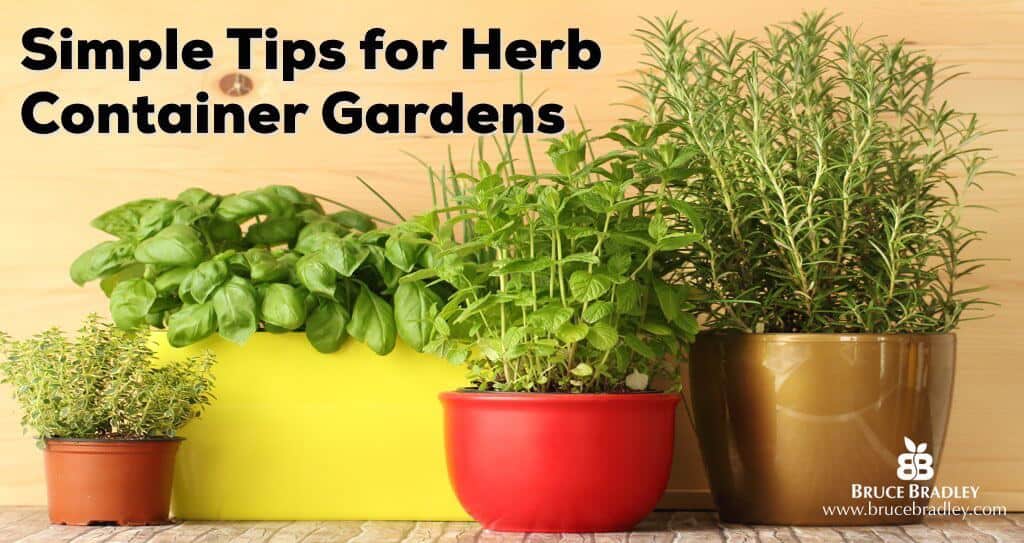
But even though I’m not a great vegetable gardener, I do love growing herbs in containers. Thankfully most herbs are pretty hardy and kind of tough to kill. 🙂 So I thought I’d share my 8+ years of experience growing herb container gardens and ask others to pitch in with any additional advice they might have. But please remember … let’s give up on getting it perfect and just get our hands dirty!
Where to start with your container herb garden? Make a list of the herbs you want to plant!
- What herbs do you enjoy? Herb container gardens aren’t ornamental although they can look beautiful. Ask yourself what herbs you cook with often. Also which herbs do you especially enjoy when they’re fresh? Buying fresh, organic herbs at the grocery store can get expensive, so summer herb gardens are a great way to add beauty to your home, save a little money, AND get outside!
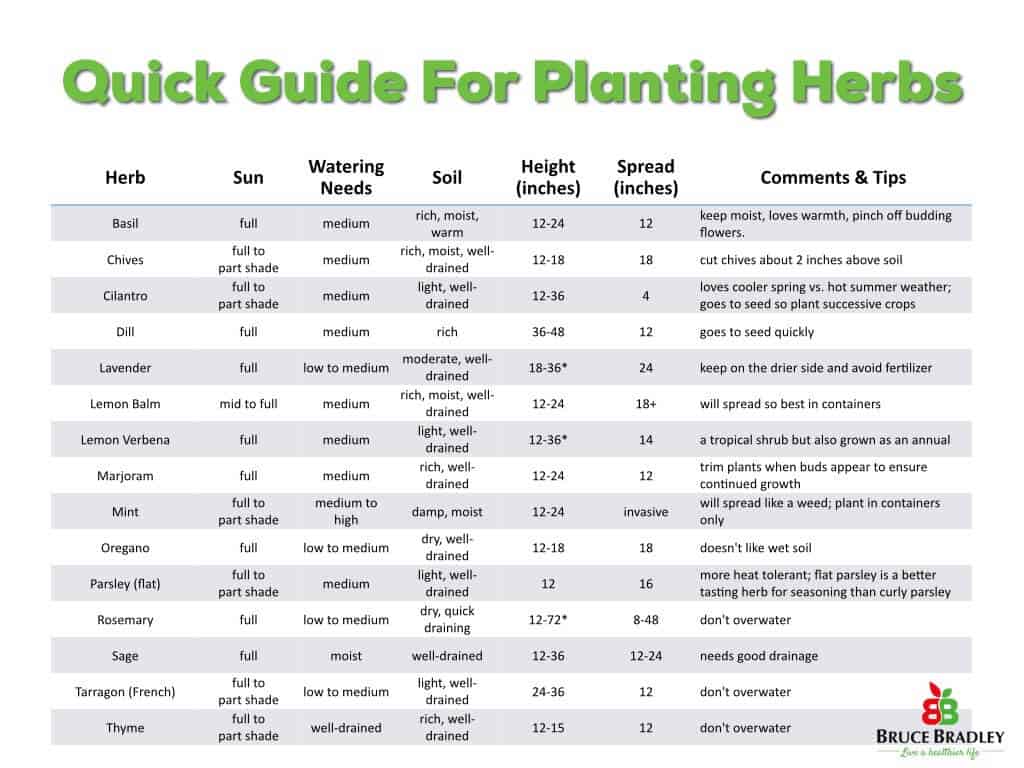
- Consider the conditions herbs need to do their best. I’ve put together a simple chart below (click on it to make it larger) that captures what I’ve learned and discovered through some research. Use this as a rule of thumb since most herbs are pretty forgiving.
- Call ahead and shop local nurseries or co-ops to find out what herbs they sell and the best herb to plant for your climate. If you’re looking for organic herbs, you’ll definitely want to call around to see what’s available.
- Experiment with new flavors. You’ll find that there are often different flavors within specific types of herbs. For example, Mexican oregano is distinctly different from Mediterranean oregano. So feel free to get adventurous and explore a little if you want!
- Planning on pesto? Then plant lots of basil! One friend of mine estimates that you’ll need about a dozen or more basil plants to make a winter’s supply of basil. I’m fortunate, my CSA supplies me with lots of basil to supplement what I grow. 🙂
Survey your space and buy containers that suit your needs.
- Figure out where you’d like to put containers in your yard, porch, or patio. Most herbs love lots of light so do your best to find some sunny spots!
- Consider different size and shape containers since each has its advantages and disadvantages. For example, larger pots hold more soil and tend to dry out slower. So, in general, it’s better to combine several plants in a larger container than to have several smaller pots. That said, some herbs like drier conditions so they may be better suited in their own, smaller container. Also taller containers tend to dry out on the surface quicker so they can be a better option for herbs that like drier conditions.
- What type of pot? Plastic is usually more durable and has the advantage of not cracking during freeze-thaw cycles. However clay and ceramic containers can bring some added color to your landscape. And of course there are some wooden planters to consider as well. Just remember, avoid treated wood containers since the chemicals used to treat them may leach into the soil. Also dark or black containers will absorb more sun and might make the soil too warm for some plants. Finally, terra-cotta containers (unless glazed) are porous and may require more watering.
- Make sure the pots you buy have good drainage. Most herbs like dry or moist soils, and only a few (mint, chervil, and bee balm) can handle wetter conditions.
Common Herb Pairing Strategies:
- Moisture-loving herbs like basil, cilantro, tarragon, and parsley make good bedfellows.
- Mediterranean climate herbs such as rosemary, oregano, sage, marjoram, and lavender do well together since they all enjoy lots of sun and a drier, less-rich soil.
- Mint spreads like a weed so DON’T plant it in your yard unless you want it to takeover. Mint does best in larger containers by themselves.
Getting Started:
- Seeds or plants? Many herbs grow well from seed, others do not. I live in Minnesota so I’m stuck with a shorter growing season, and I don’t have space to start seeds indoors. So I buy healthy organic herbs and transplant them. If you’re interested in planting from seed, here’s a link to a Farmer’s Almanac guide on growing herbs.
- Choose a good organic potting mix. While many herbs don’t need very fertile soil, most enjoy a soil that drains well. “Potting soil” tends to be of lower quality and doesn’t drain well. So look for potting mixes that are made mostly of peat or composted plant matter.
- Water often, especially at first. I know … this can be a pain. Herbs need water when first transplanted, and moisture-loving herbs need it throughout the season. The best way to tell if your pot needs watering is to stick your finger in the soil. For moisture-loving herbs if the soil is dry about an inch from the surface, it’s time to water.
- Turn your containers every week or so to balance out their growth and create stronger, healthier plants.
- Go easy on the organic fertilizers. In general herbs don’t need a lot of fertilizer, and with some (like lavender) you should avoid it altogether. Also herbs don’t need extra encouragement to flower so avoid the organic fertilizers meant for flowers. When in doubt, ask your local gardening store for some help in picking out an organic fertilizer for your container herb garden.
Now that you’ve put all the work into planting your herbs it’s time to reap the rewards. So here’s some quick tips on harvesting and storing your herbs!
Tips on harvesting:
- Use clean, sharp scissors or clippers. Tearing or pulling at the plant can damage it unnecessarily.
- Start harvesting as soon as the plant growth is strong. At first snip the springs a few inches down just above the more establish leaves on the plant. Once the plant matures you can get more aggressive in harvesting.
- Clipping herbs actually stimulates growth so don’t be shy. Trimming from the top by cutting off tips helps encourage the herbs to branch out and creates a stronger, denser, bushier plant.
- Clip off buds well before they flower since herbs that have flowered are less flavorful.
- Chives and Parsley need a slightly different harvesting strategy. They need to be clipped about an inch or so above ground level.
Enjoying the fruits of your labor—storing, drying, and freezing herbs:
- Fresh basil, parsley, and cilantro can be kept for several days to a week by placing the bouquet of herbs in a glass with a little bit of room temperature water.
- Fresh chives, thyme, and rosemary should be placed loosely in plastic wrap or an unsealed baggie with a paper towel. Warmer parts of the refrigerator, like door compartments, work best. And don’t rinse your herbs until you use them!
- Drying fresh herbs is a great alternative if you’ve got too many. In fact, I tried to plant enough herbs so I have plenty on hand for fall, winter, and spring cooking. While hanging them upside down is a great way to dry herbs since it keeps air circulating around them, we all don’t have the right spot to do that in our homes. I find placing the herbs on a plate or large rimmed baking sheet works well. Make sure the herbs are in a cool, dry place and turn them occasionally. Basil and parsley do best when chopped first. Rosemary and thyme are great to dry right on their stems. One completely dry, I store my herbs in glass spice jars. And don’t forget to label them! 🙂
- Basil, parsley, oregano, sage, chives, mint, tarragon and many other herbs freeze well. While some folks freeze the cleaned, trimmed leaves, I typically clean and chop the herbs as if I were using them fresh. Then I fill an ice tray halfway up with water and place one tablespoon of herbs in each cube of the tray (this also helps later by letting you know how much of each herb you have per ice cube). Using your finger or a small spoon dunk the herbs down in the water, otherwise they’ll just want to all float on top. Freeze the herbs overnight and pop them out of the tray. Place the cubes of herbs in labeled freezer bags.
I hope these tips have helped inspire you to get outside and do a little herb gardening. I promise, with just a little bit of effort you can cook with herbs from your garden year round!
Have some questions you’d like to ask or some tips to share? Just add them in the comment section below.
GET MY FREE BOOK NOW!
End the confusion! Learn what’s really in your food and how to take simple steps toward eating healthier!
EAT HEALTHIER TONIGHT!
If you enjoyed this article or recipe may I ask you a favor? Please share it with a friend. Why? Because together we can make a difference and help each other live happier and healthier lives. Thank you!





2 Responses
My husband and I are crazy about herbs and harvesting them at home. However not always we succeed with the correct planting. Therefore every information is very helpful and useful for us! Greetings
Thanks, Blanche. Glad you enjoyed the article!